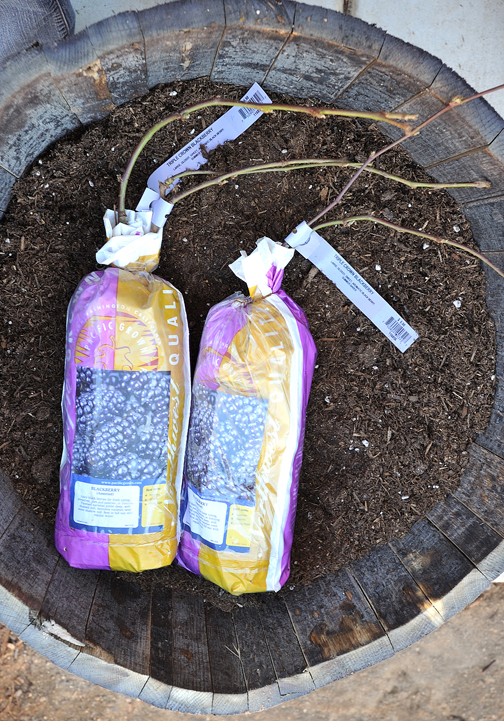
A couple days ago I posted that it is bare root planting
season. It also happens to be pruning season here in the High Desert. There are
a number of reasons for pruning plants — producing more or better flowers,
developing or maintaining a desired shape or appearance, reestablishing balance
between roots and branches, training young plants, rejuvenating older or
neglected plants, removing dead or diseased wood, and repairing or removing
damaged wood.
The pruning tools available are varied and run from really
cheap to very expensive. In my opinion you get what you pay for, so a good
approach is to buy the best quality tools that you can afford. Some of the
quality brands that are readily available include Corona, Fiskars, and Felco to
name a few.
Maintenance of tools is very important for good pruning and
the longevity of the tools. When sharpening your pruners, use a file, not a
stone, and maintain the original beveled angle. Have a professional sharpen
your saws.
Clean your tools after each use. Wipe the tools with an oily
cloth – there are some products made for cleaning tools such as Corona’s CLP.
Use linseed oil on wooden handles to help keep them in tip-top shape. Use a
solvent to remove sap. If you have been pruning to remove diseased branches,
soak the tools in a solution of nine parts water to one part bleach between
each cut. Keep in mind that the bleach can be corrosive to the tools so make
sure to lubricate the tool(s) afterward.
It is always a good idea to have a certified arborist come
in to do big pruning jobs such as trees, or anything near power lines. Also,
don’t forget safety gear such as leather gloves and goggles.
Before pruning a plant, it is important to know how it
grows. Trees and shrubs grow each year from the ends of branches (terminal
buds) and the side branches (lateral buds). The terminal buds determine the
direction and rate of growth. Lateral buds form branches and twigs that fill in
the framework of the major branches. Dormant buds are less obvious and only
grow when injury occurs to the terminal or lateral buds. A key to good pruning
is learning how to take advantage of the lateral and dormant buds to redirect
or rejuvenate plants.
Normally, terminal buds grow faster than lateral buds
because of a chemical they produce to retard the lateral growth. This is really
strong in young trees and less so in shrubs. Cutting away the terminal bud
allows the lateral buds to start growing more aggressively.
When making pruning cuts, the rule is to prune back to a
branch or bud and don’t leave a stub (or hat rack), which will die back and
cause decay or disease, not to mention being unsightly. Pruning cuts should be
no more than a quarter-inch above a bud or side branch. Pruning cut angles
should be at 45 degrees and tilted in the direction the bud is pointing. Plants
all have buds facing inward and outward. You want to cut to a bud that is
facing outward, which results in the plant having attractive outward growth
rather than making a tangled mess by growing inward.
Plants that should be pruned in winter (late January,
February and into March in the High Desert) include fruit trees, certain roses,
broad-leafed evergreens, most trees, vines and some flowering plants.
There are generally three accepted systems for pruning fruit
trees – central leader, open center and modified leader.
Apples and pears should be trained with a central leader,
which forms strong side branches and one main trunk. Remove some branches
growing from the trunk to maintain open space between limbs. Also, thin the
secondary branches growing from these limbs in order to allow sunlight and air
to reach the center of the tree. Eventually, you might want to switch apples to
the modified leader method as it tends to be easier and is close to the way
they want to grow naturally (see the Principles of Pruning Guide mentioned at
the end of the column for details).
Fruits that should utilize the open center or vase method
include quinces, cherries, crabapples, plums, peaches, nectarines and apricots.
This system eliminates the central leader and allows plenty of light and air
into the tree’s center, but makes for weaker branches so it is not recommended
for apples or pears. Try to avoid having all of the branches arise from nearly
the same point.
Many fruits such as pears, apples, plums and cherries
produce their fruit on stubby growths called spurs. These spurs should not be
eliminated or you will not get fruit, however thinning them is recommended.
When planting young shade trees all you need to do is trim
off some of the twiggy growth that won’t be a part of the tree’s framework of
branches, and twigs that are dead or broken.
Mature shade trees should only need maintenance pruning to
remove dead or damaged wood or perhaps a little thinning to allow air and
sunlight into the crown. Always cut limbs back to a live branch or main trunk.
Cuts should be made just outside (one-quarter of an inch or so) of the branch
collar (usually an obvious swelling or wrinkled area at the base of the
branch). If you are trimming a large branch, use a three-cut method to reduce
tearing of the bark (see photos).
Shrubs should only be pruned for maintenance. Occasionally a
shrub may get too tall or broad and may need to be cut back. If it’s a
flowering shrub, you need to know if it flowers on old wood or new wood. If it
blooms on old wood, you want to prune it right after it flowers – examples
include lilac and forsythia. If it blooms on new wood, winter is a good time to
prune – examples include butterfly bush and crape myrtle.
Broadleaf evergreens, such as oleander, olive, cotoneaster,
privet, euonymus and Pyracantha generally need very little pruning and are
often better off if you leave them alone. The only pruning should be to remove
dead, diseased or damaged wood whenever it occurs, and prune back branches that
get too long.
Vines should be pruned to keep them within their bounds. If
you want them to stay compact, prune terminal growth during the growing season.
If you want them to ramble, cut to the base all but three or four of the
strongest branches. Most flowering vines bloom on last year’s wood so avoid
pruning in winter or early spring or you won’t get any flowers.
Most roses bloom in late spring, a little during the summer
and again in the fall in this area. If you are pruning a newly planted rose
from a container, you should only need to prune away broken or damaged growth.
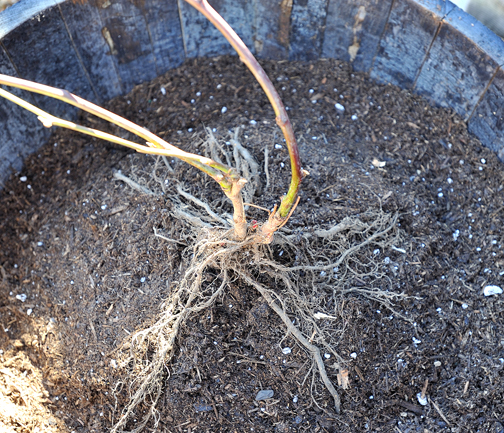
If it is a bare root, you will need to prune away broken or mangle root tips
and twiggy growth from the top of the plant.
For maintenance pruning of roses, begin by removing dead,
diseased or damaged canes. Next, prune out branches that rub together, and
crossing growth in the center of the plant. A general rule of thumb is that
when pruning is done, the remaining skeleton should be a vase shape (or you
should be able set a small bucket inside the framework). On roses three years
old or more, you should prune away about one-third of the oldest growth, then
cut one- and two-year-old canes back to the height you want to maintain.
Use the three-cut method when sawing off large branches
 |
1. Make an undercut at least
6 inches from the bark collar. |
 |
2. At about an inch beyond the undercut,
remove the limb with a top cut. |
 |
3. Remove the remaining stub with
one smooth cut from top to bottom
just outside the bark collar. |
NOTES:
Types of pruning tools:
• Bypass- or anvil-style hand pruners: Bypass works like
scissors and tend to give a better cut. Anvils can come with a ratcheting
mechanism that makes it easier to use. Hand pruners come in various sizes that
can cut branches up to three-quarters of an inch in diameter.
• Loppers: These are great for larger sized branches.
Loppers are similar to hand pruners except that they have bigger blades and
much longer handles for additional leverage, and depending on the size, can
handle branched up to three inches in diameter.
• Hedge shears: These are designed with long, scissor like
blades. They should be used for clipping soft young growth – never use these on
harder wood.
• Saws: Bow saws are lightweight and are intended for medium
sized branches. Other pruning saws can have a straight or slightly curved
cutting edge. These usually cut on the pull, rather than on the push, making
the work much easier. Sometimes saws are designed to be folded, making
transport and storing easier and safer.
• Pole pruners: These are handy for high work, but be
careful to stay away from power lines. These can be a hook and a blade similar
to hand pruners, or it can be a saw, sometimes a combination of both. These are
usually at the end of a long pole, generally 10 to 14 feet in length, sometimes
extendable.
• Of course there are all kinds of power tools available.